Like this post? Help us by sharing it!
Toby, a travel consultant in our Bristol office, recently returned from a trip to Japan – on which he cycled the country’s most impressive cycle path: the Shimanami Kaido. Here, he shares his experiences and gives some advice on how to do it yourself!
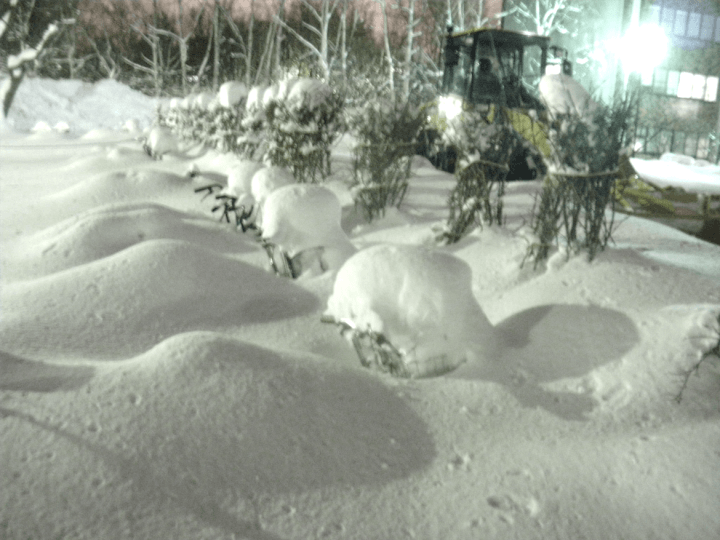
From my travels around Japan I have found that no matter where you go, you will encounter cyclists sooner or later. All throughout the year people saddle up, and even during my time spent in frozen Hokkaido I saw locals struggling through the snow on two wheels. Admittedly their motivation for this might have been the fact that any bike not frequently moved would get submerged in snow (see below!) but I like to think that in general it is because Japan is more accommodating for bicycles than most other countries I’ve been to.
Being a cyclist in the UK myself, I thought that I’d give it a go in Japan when I next visited, and earlier this year I finally made it happen. Having looked into some likely spots for it and asked friends their thoughts, I eventually settled on investigating three locations. I’d visit Kyoto and Naoshima Island to test out sightseeing by bike, and then do a longer challenge with the Shimanami Kaido cycling route. My logic behind this was to try and experience both urban and rural areas of Japan, and combine short local rides with one longer route.
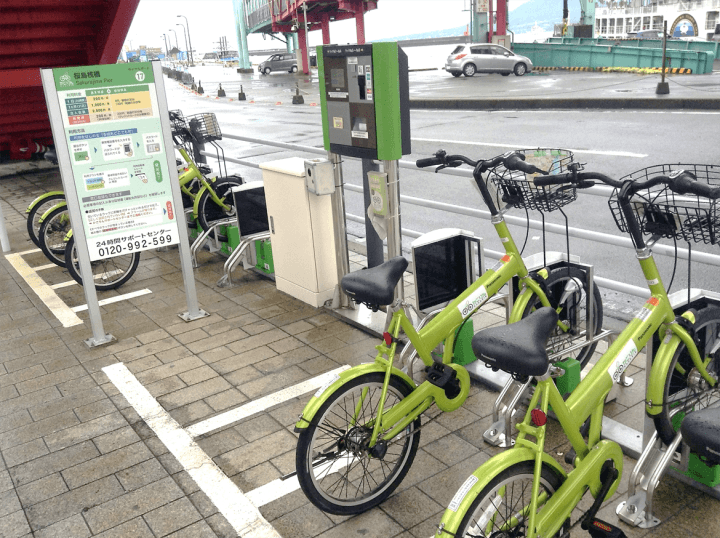
First on the list was Kyoto, and just north of the station I found a hire shop where for 1,200 yen (around £7 at the time) you can hire a standard city bike. You’ll often see electric bikes on offer for more, but I wanted to do things the local way and that means a simple but functional bike with a little basket on the front – many of them don’t even have gears! Whilst the company I rented from did have an office, below is an example of another way they rent out bikes you can find across Japan – with a pay meter and code-lock system.
Kyoto turned out to be a good place to try sightseeing by saddle for a first timer, because as well as it being a fairly flat city centre, it is relatively simple to navigate and most roads are on an easy grid pattern. One thing that I was surprised to find on my first trip to Japan was the number of cyclists using the pavements – they far outnumbered those on the road and pedestrians pay no mind to it. Japanese cycle law does exist and it is to cycle “on the left hand side of the road”, but many pavements have a bike lane designated and even where they don’t it is still common for the half of the pavement closest to the road to be used by cyclists.
If you are like me you’ll probably find it daunting to cycle on a pavement for the first time, even when allowed and clearly marked out. In the UK of course you have to stick to the road, and if you are lucky there’ll be a lane marked out for cyclists. In Japan it was nice to be able to avoid the roads in many areas, and I found myself happily using pavements to get around. Kyoto temperatures can soar in August, but I found cycling instead of walking to be quite refreshing – as you cruise along you get a nice breeze going! With my hire bike came a lock so I could fasten it up, and it made for a very pleasant day.
Overall I would wholeheartedly recommend anyone visiting Kyoto to give it a go, as long as you are confident riding along roads at times and careful when using the pavements!
After the city, my next port of call was Naoshima, the “Art Island”, known for its many museums and galleries. With a tiny population and infrequent traffic, it contrasted nicely with Kyoto. After arriving by ferry and walking for about two minutes straight through the visitor centre, I found a bike rental easily and acquired a similar city bike to the one I’d used earlier. As I was staying the night I needed it for two days, which came to a grand total of just £6! (Admittedly with a £20 deposit that was returned the following day.) The weather there was beautiful and the only problem I encountered was the slope on the way to my accommodation, where I found out why some people shell out for an electric assist bike. My poor city bike had no gears.
After five minutes of intense peddling I crested the peak and came down the other side, to a lovely coastal ride approaching the beach I was staying on. The beauty of Naoshima is that you can cycle to everywhere you need to go to in no more than about ten minutes, although after the grid pattern of Kyoto it took some time to get used to the steep and winding roads again. At some of the sharper turns they did have mirrors to see oncoming traffic, so at least you didn’t have to nervously edge around each bend in fear of coming face to face with a car!
As my first day there was a Monday, when most museums and galleries in Japan are closed, I did a loop around the island stopping at a beach, the post office, and a miniature shrine. Each time I dismounted I parked next to a row of identical blue-framed bikes, using the built-in wheel lock to secure mine. There was a noticeable lack of stands to lock the bike to, but at least if someone wanted to steal it they would have to pick the whole thing up and run off with it under their arm.
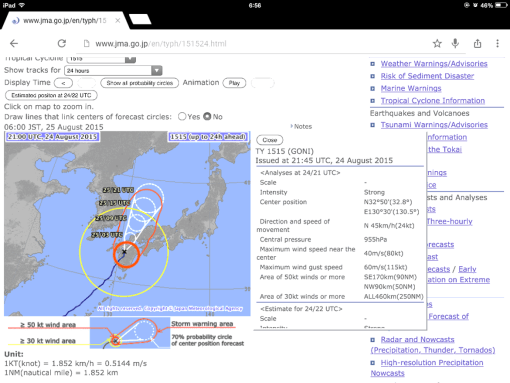
On the second day, the rain came down and I left the island in a bit of a hurry – I’d been caught by the fringes of the typhoon you can see on the map below. Cursing my luck, I dashed to leave the island as soon as possible in case any of the ferries were delayed by rough seas.
The only difference I found in the cycling conventions between Kyoto and Naoshima was that most of the pavements here were pedestrian only, so I ended up spending most of my time on the road itself. It is one of the quieter spots in Japan though, with most people getting around by bike or bus, so you can still look forward to little to no traffic. The only slight downside is that the hire bikes aren’t suited to one of two of the hills, but they’re still manageable and I fully plan on returning to Naoshima by bike next time I am in the area!
With my two sightseeing-by-bike sections over, the Shimanami Kaido was the final stretch of my cycling tour. I must admit to having been a little anxious about the bike quality for this, after the last two gear-less hire bikes. However, turning up at the hire shop in Imabari, I was happy to find the quality was far higher, and the staff knew what they were up to. I tried a couple before the couple running the shop found one for me, and after some tweaks to the seat height they sent me off on the road north.
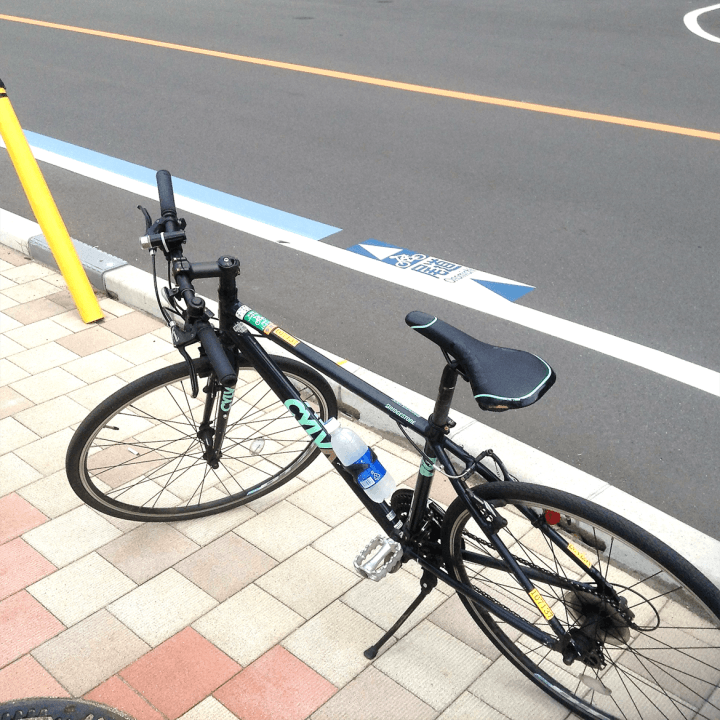
Below is the two-wheeled beauty I ended up using, complete with a cold bottle of the ‘Pocari Sweat’ sports drink, at the starting point for the route. You’ll notice the blue line and ‘Onomichi’ sign on the road, which were an indispensable aid to doing this route – more on this later!
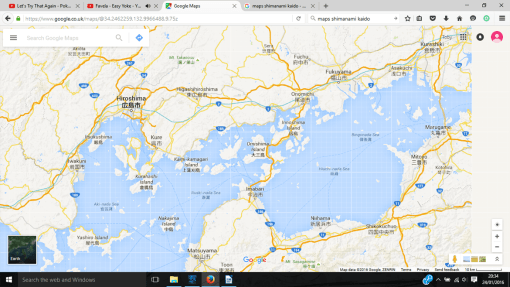
Below is a map for the Shimanami Kaido, courtesy of Google Maps. To the northwest is Hiroshima, on Honshu mainland, whilst to the south is Imabari, the topmost tip of Shikoku Island. I had heard wonderful stories about the bridges that linked the islands together as you hopped from Honshu to Shikoku, and was looking forward to the best of these right at the start of my route.
After leaving Imabari, there was a brief road shared with cars before the cycle path split off, and remained separate for a good dozen kilometres or so. This is to give you a more gentle incline on the approach to the bridges, and then once you start crossing you have your own lane the whole way across.
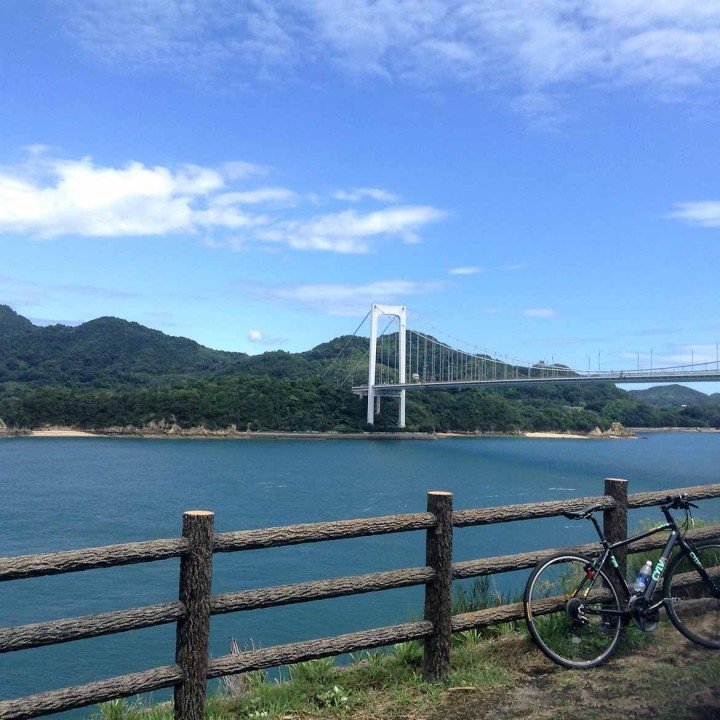
From looking online at photos of the Shimanami Kaido, I had built up the impression it would all be like the picture below; vast suspension bridges, beautiful views and a route just for bikes. Whilst you do get a lot of this, and as my picture shows it is a lovely area of Japan, there are a lot of roads past this point shared with cars. On the plus side, you still have a bike lane even at these points so are never having to contend with the traffic!
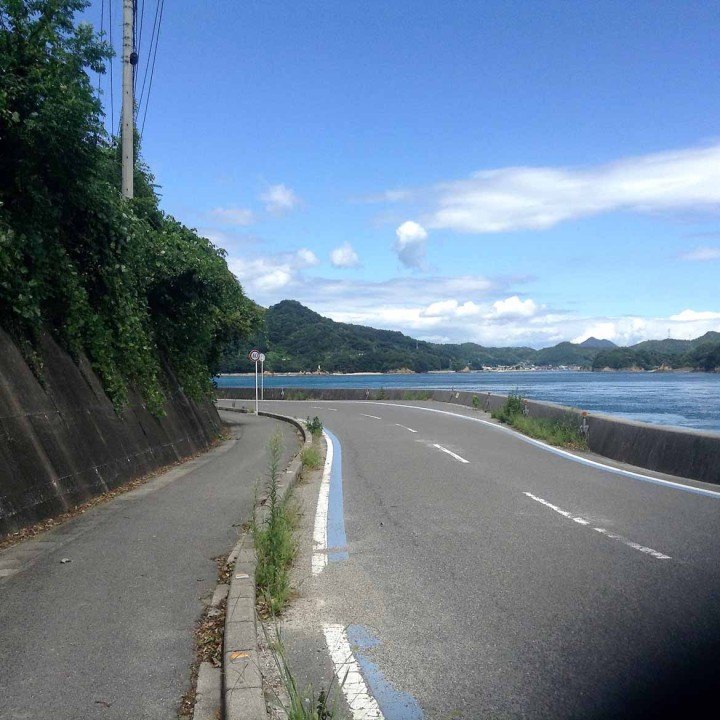
Now, before setting of I’d carefully looked over the map. I had checked places where I might have to be especially careful, looked up the individual island names along the way, and given myself a bit of extra time in case I got lost. However, I didn’t have to worry about any of this once I started because, as I soon realised, almost the entire route is signposted – just in a subtle way, with blue lines on the roads (see below for an example). Though they are faded in areas, they are unmissable once you know to look for them.
They even had distance markers on each side of the road, showing how far you had to go – good motivation and a way of timing roughly how fast you are travelling. Admittedly there are short sections without them, but only when you are on a dedicated cycle stretch and can’t stray from the path.
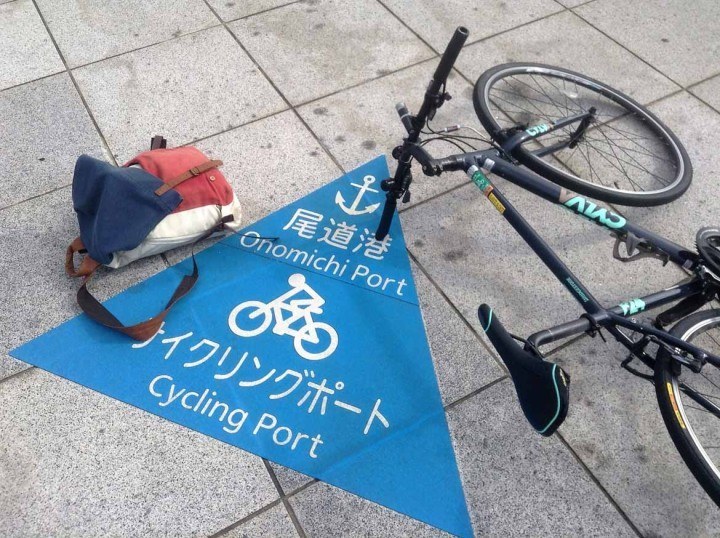
I had allotted myself six hours to do the whole run, with time for lunch, navigating and sightseeing breaking up the journey. However, with a good bike, clear route and perfect weather I managed to make the ~75km in just over three hours still wanting more! You finish in Onomichi, a charming, quiet town linked by rail to the rest of Japan. The below triangle is, as far as I could tell, the official start/end of the route so I hopped off for one last photo.
My top tips for tackling the Shimanami Kaido are as follows:
- Bring about £10 worth of cash for the drink vending machines. No matter how much in the way of drinks you bring with you, it won’t be enough to keep you hydrated!
- Reserve a bike in advance – I did this a few weeks before going and it meant the staff were expecting me with a few bikes ready to try. I could let them know my height too, to save time on the day.
- Decide on if you are doing it with or without exploring the islands you’ll cross. I knew I only had one day to do it in to fit in with my trip, but if you can spare two you could take it at a much slower pace and explore the islands – there are some beautiful towns en route that are worth visiting if you are able to.
To bring this post to a close, I can highly recommend cycling in Japan. With similar hire systems in cities across Japan you could easily end up cycling all over the country! Renting a bike is cheap and easy, and whilst you won’t have access to top-of-the-range models, you can definitely get by with what’s on offer. My one regret is not being able to try some of the cycle routes in the Japanese Alps, such as in the Takayama area, but next time I visit I will be sure to do so. You can always sightsee by car, but the value and flexibility of a bike will always win it for me – except, perhaps, if I get hit by a typhoon again!